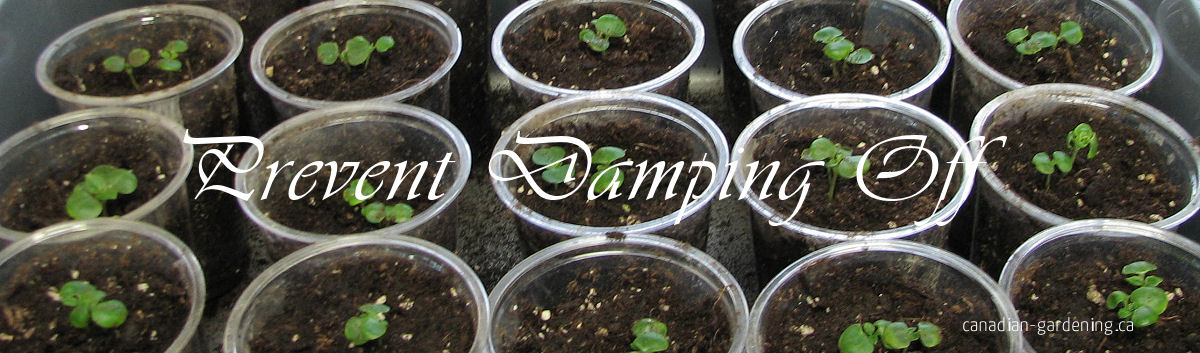
What is damping off — and why it happens
Damping off is caused by several soil fungi (and fungus-like organisms) that thrive in warm, moist, still conditions. They attack stems at ground level, causing seedlings to suddenly collapse. Even store-bought mixes and pasteurized soil can become contaminated if conditions favour fungal growth.
Core idea and the Hardest to do:
They say - the way to beat damping off is to make an environment fungi don't like: light, slightly drier surface, good airflow and sensible warmth timing. Break any one of the things fungi need and you've already won half the battle. I have had damping off and it was soon enough that I started a new batch, but it's discouraging.
| Task | Why it helps | When |
|---|---|---|
| Use a soil-less mix (peat or coco + perlite/vermiculite) | Drains and dries at the surface; fungi hate that | At planting |
| Bottom water only | Keeps the soil surface drier | Daily or as needed |
| Remove humidity dome as soon as the first sprouts appear | Stops the tray becoming a warm, humid fungal sauna | At first true sprout |
| Use gentle airflow (small fan) | Dries surface and strengthens stems | After sprouting — run daily |
| Turn off heat mat once most seeds have germinated | Warm+moist soil encourages pathogens | Immediately after germination |
Step-by-step routine (lion-gardener approved)
- Prepare trays: Clean trays with warm soapy water or a 3% hydrogen peroxide rinse. Use clean pots and a fresh soil-less mix.
- Sow thinly: Avoid overcrowding. Overcrowded stems trap moisture and shade the soil surface.
- Germinate under dome + heat: Use a dome and heat mat for sprouting, but watch closely.
- Remove dome at first sprout: The moment you see the first green, lift the dome. Don’t wait for heavy condensation.
- Turn heat mat off: As soon as most seeds have popped, switch to room temperature.
- Start airflow: Put a small clip-on fan on low near the trays (not blasting seedlings). Run several hours daily or all the time if gentle.
- Bottom-water: Place trays in a shallow saucer of water for 10–20 minutes, then remove and drain any excess - hard to remember this part.
- Optional extras: Lightly dust the soil surface with ground cinnamon or water weekly with a mild hydrogen peroxide solution (1 tbsp of 3% peroxide per cup of water) for extra protection.
Troubleshooting — if damping off appears
- Remove affected seedlings immediately (do not compost them in your seedling area).
- Set up stronger airflow and remove domes if still in place.
- Clean and replace the soil in the tray before reusing.
Give seedlings a gentle breeze and a light tap once or twice a day (or a fan on low). This encourages thicker stems and sturdier plants that resist collapse.
Thin when seedlings have their first set of true leaves. Keep the healthiest ones and snip extras at soil level with scissors to avoid disturbing roots.
Quick reference: what usually causes damping off?
Most cases boil down to too much moisture at the soil surface combined with still air. Fix those two and you’ll stop the vast majority of problems.
Bottom line: Use a light mix, keep the surface drier, remove domes early, add airflow, and don’t overheat after germination. Do these regularly and damping off becomes an unhappy memory.